Category Archives: diy

09.08.11

Back To School Party

It’s that time of year again.  While searching for inspiration for another party, I stumbled upon this Back To School Soiree.  This party was created by Leoni of Just Call Me Martha.  Isn’t it unbelievable!  I love all of the colors.  

Leoni used free printables from Bird’s Party for the tags.

These pops of color are giving me some serious inspiration….

09.06.11

Mykea.

A few weeks ago, I wrote about O’verlays.  I have recently stumbled upon another alternative to sprucing up your Ikea furniture.  They’re stickers and they’re called Mykea.  First you choose what piece of Ikea furniture that you have, then choose your pattern.  Here are examples of what you can create:

08.25.11

Spell it Out.

It all started with a plan
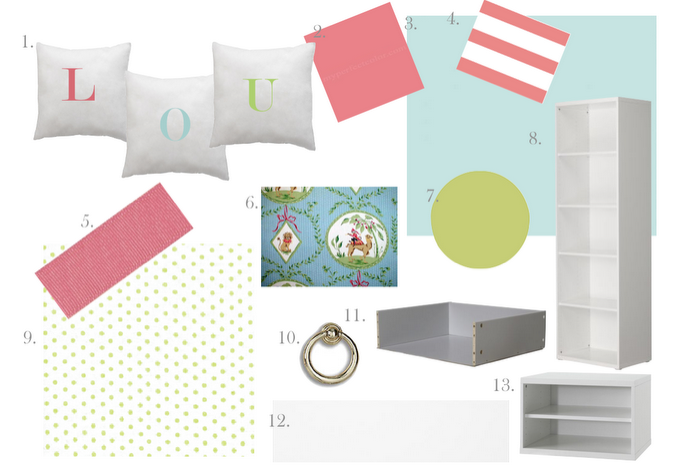
Slowly but surely, things are moving along in Lou’s room. Last weekend I finally made some of her pillows.

I just used iron-on transfer paper from Michael’s.  I am thinking of having them stitched on to make them more durable.

 I also finally ordered two of these sconces for either side of her bed.
And, I am expecting her new chandelier to arrive by the end of the week.  
I am giddy thinking about that chandelier in her room.  I will be sure to share pictures as soon as I get it hung!

08.15.11

How to Line an Envelope.

After a post on Anna’s inviations, many of you asked about how to create envelope liners.  My apologies, I promised to give you a tutorial over two months ago.  So, here it is… better late than never!
  This is one of my favorite ways to dress up a homemade invitation or note.
The first step is buying the envelope liner kit from Paper Source.
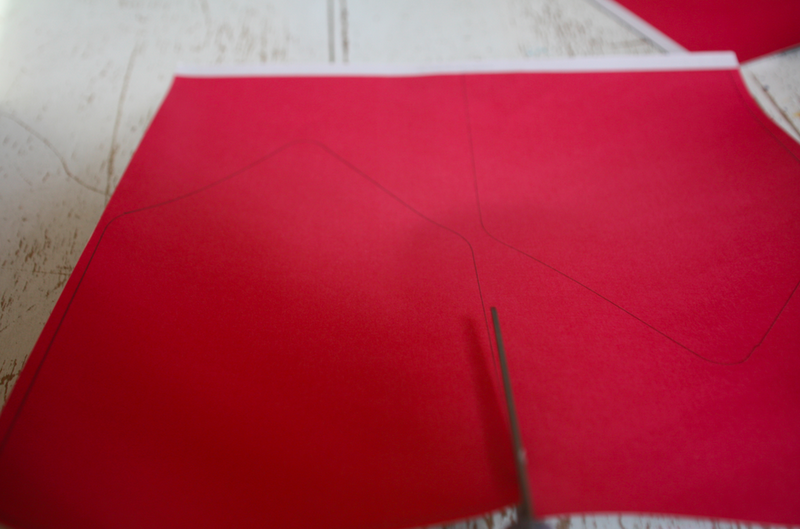
   Next choose a paper, and trace the desired envelope size, face down.  (I took these pictures one handed, while performing the demo, so they are not the best.)
 Cut out the liners.
 Slide the liners into your envelope.
 Press down and fold to create a sharp crease.
Apply glue to top portion.
Press firmly, smooth out any bumps.
 Repeat as many times as needed.
And voila!
Now you’re ready to mail.

07.22.11

Copy Cat.

As most of you know, we have been working on Lou’s Big Girl Room.  First, the bed, then the mirror, shelves and stripes, next up:  new lighting.

We have all seen this Majorie Skouras chandelier, which I love.  Unfortunately, it is a bit out of my price range.  But that’s ok, because it’s far to large for Lou’s little room and the turquoise beads would be a bit too bright.  That being said, check out this tutorial on making your own.  
I was able to locate the beads that I beleive they used on the original.
 Here’s the turquoise 
and here’s the green.
I know my limits (ability and time)  and will be outsourcing this one, but I am confident that it will be just perfect as we have painstakingly selected all of the elements.  I can’t wait to send you pictures of the finished project.

07.14.11

You Say Tomato.

While our strawberries may not have fared the devious squirrel in our neighborhood, our tomatoes are thriving.  There is truly nothing better than picking ingredients for your dinner from your own garden.  Last week roasted tomatoes were on the menu.
 From the garden…  To a baking sheet.
 Drizzle with olive oil
and a little salt and pepper.  Roast at 300 degrees for 45 minutes and presto!
Italian chopped salad with grilled chicken and roasted tomatoes.

07.13.11

Color Coded.

I love the blogosphere.  I am introduced to new and inspiring people everyday.  Last week, I received a hello e-mail from Tobe from Because it’s Awesome,  and upon perusing through her blog I found this genius project from Christina Diaz.
It just goes to show you, inspiration can start anywhere.  It all started with this necklace…
 …and a dilapidated old bench.

A base coat of white paint….
 …and a little bit of color…
 …and voila!
 a beautiful and bright new bench.  It is like a piece of art.
So fresh and clean.  This bench makes me happy.