Capes are the ultimate fall accessory. I have two camel capes that I adore, one in wool, and the other in a lightweight fabric. I am not a sewer, but I wish that I was, because this tutorial looks pretty simple. For those of you that are and have a little girl or two in your life, these capes are a MUST. And, if you want to make two more…. the Salmon girls wear a size 8 and a size 5T. 😉
Category Archives: She’s Crafty
10.06.11
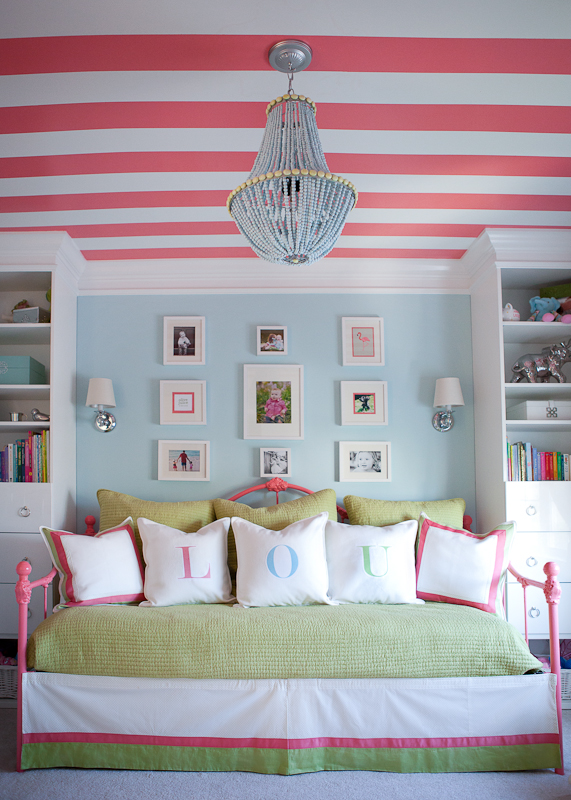
Lou’s Room on a la mode.
09.29.11
Frame It: Vintage Scarves.
Domino
In sourcing pieces for my next room transformation (our guest bedroom) I have fallen in love with the idea of framing a vintage scarf over the bed. Last night on Etsy, I bought this… Isn’t she gorgeous?
09.22.11
One Truly Outrageous Party.
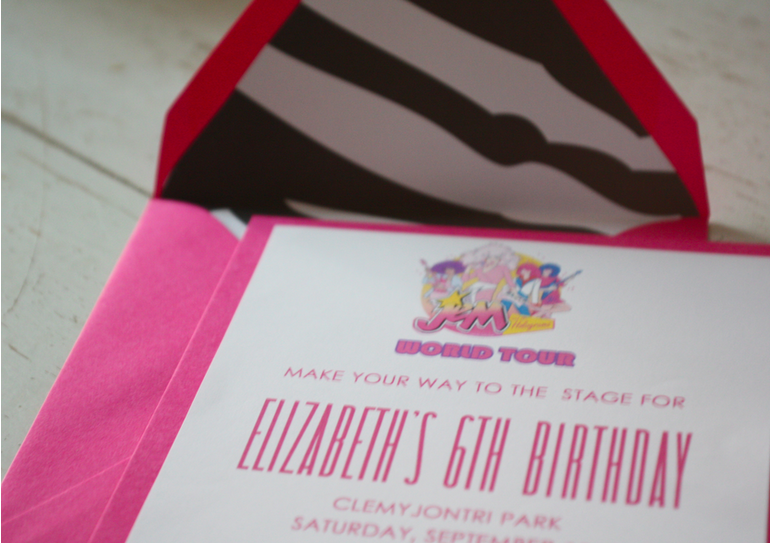
Last weekend we celebrated E’s 6th birthday. There were a few mishaps and threatening skies, but the weather held out and the party was a ball.
Happiest Birthday to our baby girl. We had so much fun. Now that her party is over, her sister has already started campaigning for her birthday party (in May.)
Party Styling- Krista Salmon
Photography- James Woo
Invitations- Krista Salmon
Cake Topper- Tastefully Treated
Cupcakes and Cookies-2 Sweets
Cupcake Wrappers- Scraptags
Floral Design- Krista Salmon
Pinata- Birchangel
Guitar Picks- Steve Clayton
Disco Balls- Party Depot
Gloves + Pins +Tatoos + Flower Pails- Michaels
Sunglasses + Michael Jackson Gloves + Microphones- Windy City Novelties
Reusable Goody Bags- Papermart
Materials for Backstage Passes- Staples
09.08.11
Back To School Party
It’s that time of year again. While searching for inspiration for another party, I stumbled upon this Back To School Soiree. This party was created by Leoni of Just Call Me Martha. Isn’t it unbelievable! I love all of the colors.
Leoni used free printables from Bird’s Party for the tags.
These pops of color are giving me some serious inspiration….
08.25.11
Spell it Out.
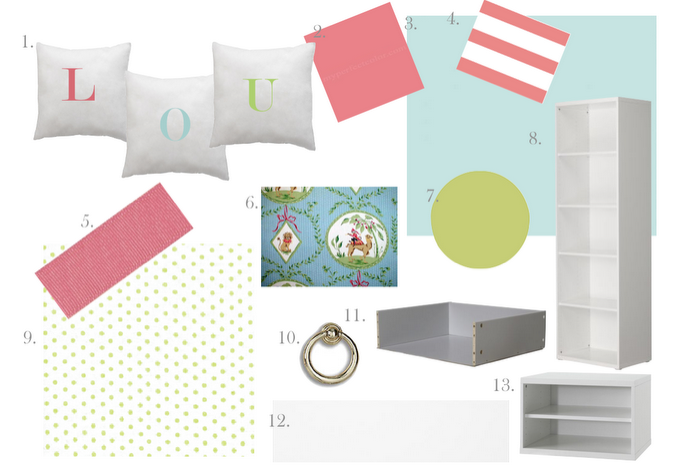
It all started with a plan.
Slowly but surely, things are moving along in Lou’s room. Last weekend I finally made some of her pillows.
I just used iron-on transfer paper from Michael’s. I am thinking of having them stitched on to make them more durable.
I also finally ordered two of these sconces for either side of her bed.
And, I am expecting her new chandelier to arrive by the end of the week.
I am giddy thinking about that chandelier in her room. I will be sure to share pictures as soon as I get it hung!
08.15.11
How to Line an Envelope.
After a post on Anna’s inviations, many of you asked about how to create envelope liners. My apologies, I promised to give you a tutorial over two months ago. So, here it is… better late than never!
This is one of my favorite ways to dress up a homemade invitation or note.
The first step is buying the envelope liner kit from Paper Source.
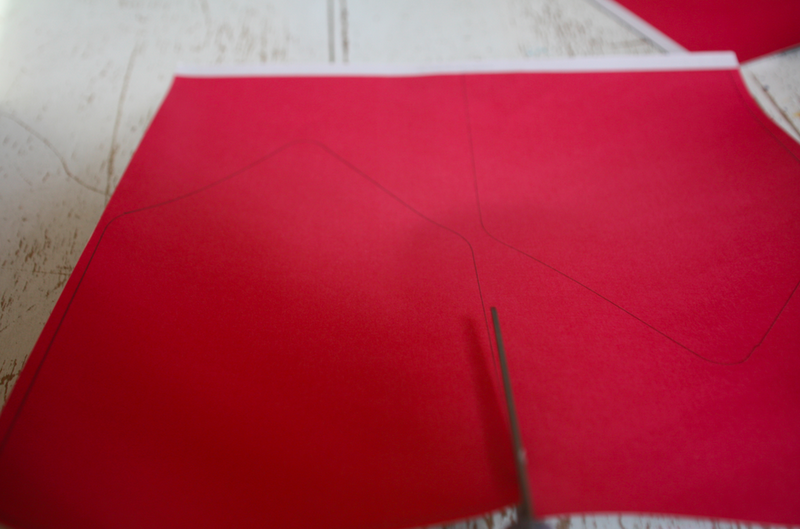
Next choose a paper, and trace the desired envelope size, face down. (I took these pictures one handed, while performing the demo, so they are not the best.)
Cut out the liners.
Slide the liners into your envelope.
Press down and fold to create a sharp crease.
Apply glue to top portion.
Press firmly, smooth out any bumps.
Repeat as many times as needed.
And voila!
Now you’re ready to mail.


