Category Archives: She’s Crafty

12.23.10

Tags, Tags and More Tags.


I was introduced to Courtney Fernan through Kristen Krason at 6th Street Design School. Courtney is the author of A Thoughtful Place blog where she dishes out creative ways to make your house a home on a budget. I hopped over there last week and saw this post on gift labels, which inherently brought me over to Jones Design Company. Check out these labels that Emily created for all of her readers as a holiday gift. What a great idea! I of course printed some out and slapped them on the wine bottles that I will be giving my co-workers.

Happy downloading…. Thanks Emily!

12.23.10

Those Flowers.

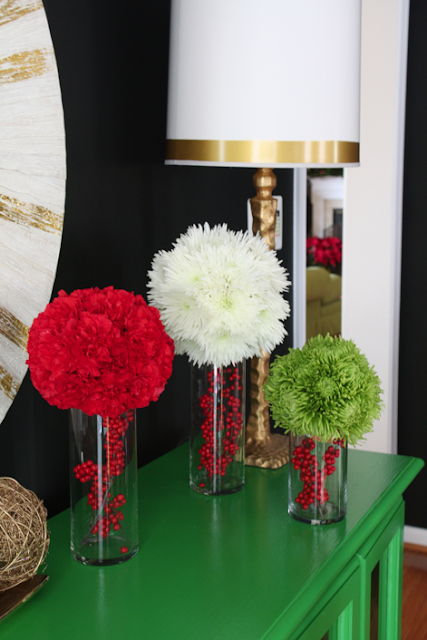
Remember those flowers from this post? Want to learn how to make them? They were super easy, and inexpensive too!

Every year for Christmas the Ya’s (minus our dear Claudia who lives in North Carolina) and I get together and try to do something fun together rather than getting each other gifts. This year, it was a floral design class at Helen Olivia. Located in Old Town, Alexandria, Helen Olivia is offers premier floral design to many clients and just recently outfitted the Residence of the Vice President for Christmas.

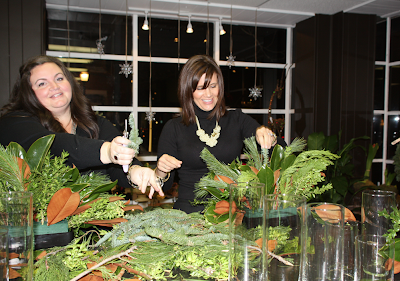
MJ and I hard at work on our mantle pieces.

Danielle and Lissy showcasing their carnations.

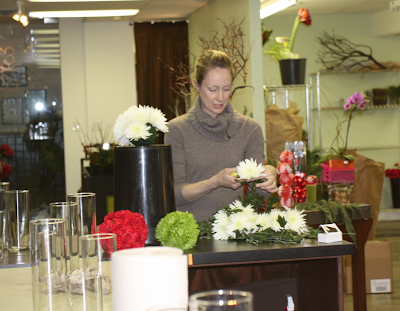
Arranging my mantle piece….There are so many things wrong about this picture (like the sprouting of my double chin)… I cannot wait to cleanse!


Marianne Raub, the owner offers many classes to meet the desires and skill sets of many aspiring floral designers. This week’s class was focused on Christmas. We made a mantle piece as well as the pomanders that you saw on my green console.


I must admit, when we walked up and saw the collection of carnations and mums, I was quite skeptical. But how adorable did these turn out?


Here’s how to do it:

1.) Buy 24 of each flower, three oasis balls and 3 vases of your choice. I found that the carnations worked far better than the mums. I would also suggest roses, however, it will be much more expensive.
2.) Soak Oasis Balls in water for 30 minutes.
3.) Cut each stem about 1/4 of an inch from the base. Always cut stems at an angle to maximize water absorption.
4. )Starting at the top of the oasis ball, push stem into oasis, making sure that the base of the flower is touching the foam.
5.) Continue to fill oasis ball with flowers tightly. You will have about a 2 inch portion of oasis that is uncovered, but that will be where you rest the pomander on the vase. It will not be seen.
5.) Fill vase with objects that you have chosen- Christmas balls, winter berries, candy canes– you name it.
6.) Place pomander on vase and enjoy– these should last up to a week.

12.21.10

A Beautiful Mistake.
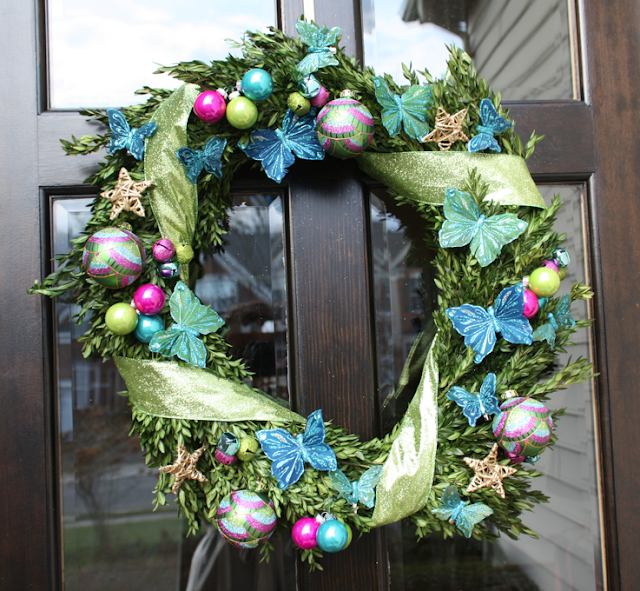

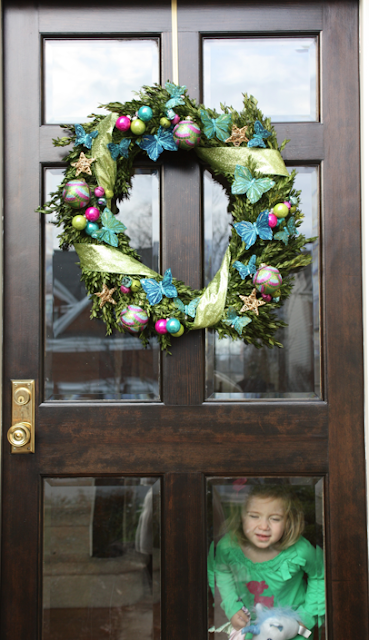
I love the look and texture that boxwood provides during the holidays. Every year when we go to pick out our tree, I buy boxwood garland for our banisters and doorways. This year, however, I somehow picked up two boxwood wreaths rather than garland, as illustrated by my hula hooping models below.

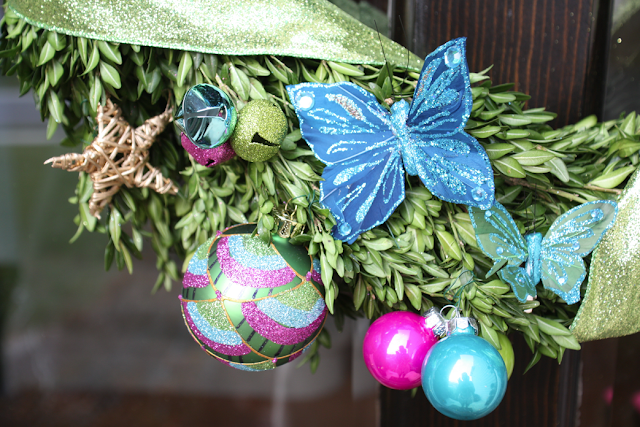
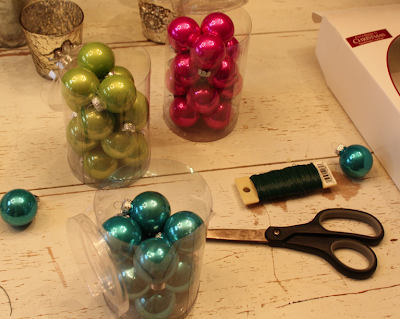
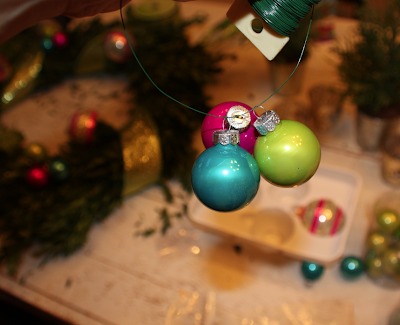
CRAP, I thought….When am I going to find the time to return that? Well, I made the time a few days later, and unfortunately, all of our local nurseries were sold out of boxwood roping. So, I decided to take my wreaths and make the best of it. In a 15 minute dash, I ran into my local Michael’s and grabbed whatever I thought could work. Inspired by my Blue Christmas post, I went to town. A mix of butterflies, wicker stars, jingle bells and Christmas balls… I think it turned out pretty cute. The whole thing took me 30 minutes to put together. It’s as easy as 1-2-3… just attach all objects with floral wire and wrap it tightly to make sure your ornaments don’t blow away with the cold winter’s wind!

Because I had two wreaths, I made another one for our friends Will and Aimee and gave it to them when they had us over for dinner. I am still super bummed about the lack of garland on our banisters this year, but I guess if I look at the glass as half full, that’s one less thing that I need to cross of my holiday to do list!

10.27.10

Nurturing Creativity.


When we finished our basement, I was sure to put dibs on a space to build a craft room. I think it is so crucial to foster creativity in our children. As art and music programs are being cut at record levels within our schools, it is up to parents to pick up where the school systems are failing our youth.

Since I entered the blogosphere I have had the opportunity to meet some amazing people. Through the the virtual universe I have been introduced to new things and ideas that I never would have had the pleasure of experiencing without the miracle of modern technology.


This brings me to Margaret Norcott, Principal designer for Milieu Design Group. Margaret sent along pictures of this gorgeous Kid’s Craft Suite that she designed for the Atlanta Symphony Show House and Gardens back in April.

This craft suite makes my little craft room look like a dump. Margaret has done an amazing job of mixing colors and textures that appeal to both kids and adults alike.


Can you believe this puppet show booth? What little one wouldn’t LOVE that?


I’m a big fan of a good window seat.


Here are Margaret’s resources:

1. Duralee Summer Fabric– Pricing to the trade.
2. Trina Turk Zebra FabricPricing to the trade.
3. Kravet So Chic Sherbet FabricPricing to the trade.
10. FLOR Carpet Tiles– $11.99

Thanks Margaret for sharing this special room!
Check out Margaret’s blog here.


10.12.10

5.


As many of you know, my baby girl turned five last month. For their birthdays, I let my kids pick the theme, then the rest is up to Momma. You can see her first four birthdays here. Believe it or not, you can have a character party with style. This year, she chose a Princess and the Frog theme. I aimed for a whimsical, bayou-esque feel. Since Tiana is a chef (and so is E, might I add) I focused on the cooking element. You will see this theme repeated in the invitations, as well as the favors.

 
We had an absolute blast. Below are some pictures of the event, as well as the How To’s.

Invitations– The Plum enclosures were on clearance at Paper Source.
PomsPom Love
PinataPinata Queen
Goody Bags– 1. Aprons- Bought aprons here. Printed each child’s initial (lilac for girls, chartreuse for boys) on transfer paper and ironed on. 2. Tiana’s Cookbook 3. Frog Cookie Cutters
PhotographsJames Woo
Games– Pin the Kiss on Naveen, Hot Frog, Freeze Dance
Flowers– Remember those darn candy jars from Lou’s party? They have once again been re-purposed. We wrapped them in ribbon and added an E sticker glued onto lilac card stock.
MusicPrincess and the Frog Soundtrack, as well as some other Disney faves.
Candy Cups– Michael’s.  I created the labels from Paper Source‘s 2.5 inch labels.
 
A special thanks to my bestie, MJ, who slept over the night before the party to tie together loose ends. As usual, there were a lot more loose ends than I estimated… We were up until 1:30 am.. she arranged all of the flowers- and what an amazing job she did! I have the best friends in the world. A big fat kiss to all of you.. MWAH!

10.05.10

Welcome to the World, Glory.


Last Sunday I hosted a baby shower for my dear friend, Aimee. Aimee is married to Mike’s best friend from high school, Will. They are truly like family to us, and we are so grateful to have them in our lives. She is having a little girl sometime in the next two weeks. Her original due date was November 3, but the doctors keep moving it up, so at this point, it can be any day.


Aimee’s mom passed away of cancer a year ago. Gloria Wedlake was an amazing woman- so charming, graceful and charismatic. Aimee was lucky enough to inherit some of her best traits. To honor her mother and Will’s mother, they have decided to name their little bundle of joy Glory Constance. I just love it. It is so fitting.

I hope you enjoy the pictures of the shower. Aimee is not your “cutesy” kind of girl, so I tried to make it sophisticated and earthy with a twist of bohemian flair. Just her style.

Here are the How To’s:
  • Invites- Tinyprints.
  • Mantle Letters- Cardboard letters from Paper Source. I cut strips of paper to create the patterns. This created a much cleaner look than paint.
  • Kitchen Table Flowers- Reused the candy jars from Lou’s Yo Gabba Gabba Party and wrapped them in this paper with pink velvet ribbon. I bought 9 yards of burlap at G Street fabrics ($7/yd) and cut it into (3) 3 yd pieces. MUCH cheaper than buying burlap table cloths. I bought the runners here.
  • Dining Room Flowers- For these you need a lot of flowers, a lot of patience and a lot of this.
  • CD’s- I had my graphics go-to girl, Jenna create the labels, and popped them on some of these.
  • Cake- Kristy at Tastefully Treated.
  • Menu- Sausage and Leek Casserole, Butternut Squash Soup, Arugula Salad (Pomegranate Arils, Bleu Cheese, Candied Pecans, Red Onion, Balsamic Vinaigrette),Fresh Berry Salad, Assorted Muffins and Danishes. Also, our other dear friend Melissa brought this as well as Mimosas and Bellinis. All of it was delish.
  • Elephant Table– Bought this beauty on clearance, here. I bought a tray of wheat grass and cut it to size then wrapped it in the pink velvet ribbon. How cute will that be in the girls’ playroom?
  • Gift Basket– I have a lot of go to girls. Mary is my go to girl for all things baby. Check out her site here.
I hope you enjoyed this peek at Aimee’s shower. Welcome to the world, Glory…We can’t wait to meet you!