08.23.11

I Love You Like A…

Next week, Mike and I will celebrate our 9th wedding anniversary.  We are pretty simple, we don’t exchange gifts, and as some of you may know, this is a bittersweet day for me, so I like to keep it low-key.  I always like to get one funny card and one meaningful.  Unfortunately, I will be in California all of next week, so I’d like to leave a little something behind.  So I started my search for the perfect card.
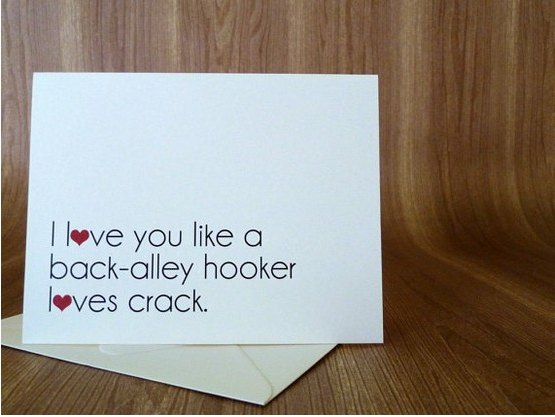
This is like Mad-Libs.  I love you like a                      .
 
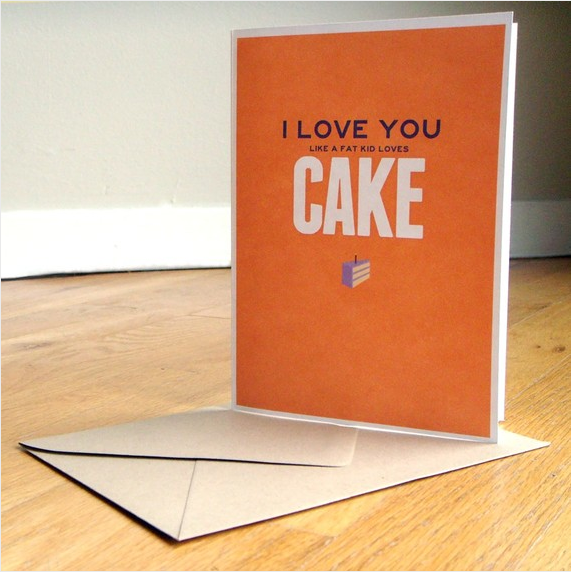
A Fat Kid Loves Cake (I have signed cards to him saying just that.)
A lemon?…  I guess this is a love/hate thing.  Probably not appropriate for our Anniversary.
Ok.. Maybe I should search for something a bit more meaningful….
Found it.  Our relationship started as a long-distance one.  So, when ending any email or text we have always signed OJ, or Olive Juice for I love you.


08.22.11

Fleabags.

Strange name, I know, but I spotted this brown suede little beauty in last month’s InStyle and haven’t stopped thinking about it since.  Me likey.  It makes me think of Fall.  I imagine myself rocking this baby with a cream cable knit turtleneck and some weathered jeans.
Fleabags was started by two women who were in the design industry and were frustrated with the environmental hazard and waste that plastic bags created.  They wanted a dapper, large and versatile bag to carry all of their goods.   While this is much more expensive than your average Envirosax bag, I dig it and would love to have one for a gym, overnight or laptop bag.  

Just look at these babies….

08.18.11

Instagram.

I am officially obsessed with Instagram.  I downloaded it a few weeks ago, but didn’t really have the time to play around with it until our 2.5 hour trip to Dutch Wonderland last weekend.  For those of you that are unaware of this addictive (free) iPhone App, do not hesitate,  download now.  It allows you to take your standard picture and turn in into a gem.

You can turn this average iPhone pic:
 Into this:

I just love the vintage feel that this app brings to any picture.  Here are some more shots from our weekend:

You can also follow other users and get a running feed of their photos, much like Facebook or Twitter.  My username is klnsalmon if you want to follow me.

08.17.11

A New Light.

Remember this post about the chandelier in Lou’s room? Well, it’s coming along.
However, it is taking a lot more time and parts than expected…. Beleive it or not, this is 2,200 beads.
So…. we had to order more beads. After they are painted and strung, this baby will be coming home to Virginia.

08.16.11

East -vs- West.

I love to peruse the virtual pages of Vogue’s website for inspiration.  I recently came across this feature on Minnie Mortimer’s Malibu home. I was immediately smitten.  I love the sophisticated yet laid back vibe that she has created.  It’s eclectic and fun, but still relaxed and functional.  Art imitating life? The juxtaposition of her style seems to imitate her journey.  When asked if she was an East Coast girl or a West Coast girl, refusing to choose, this NYC transplant replies “Both!”
Minnie has succeeded in her quest to stay true to her roots.  Despite the house’s laid-back Cali vibe, you can spot little tributes to her home back east.  As she states “I’m in a New York State of Mind.”  I love how these pictures depict the tranquil environment that she and her screen-writer husband, Stephen Gaghan have created for themselves and their daughter, Tuesday.

08.15.11

How to Line an Envelope.

After a post on Anna’s inviations, many of you asked about how to create envelope liners.  My apologies, I promised to give you a tutorial over two months ago.  So, here it is… better late than never!
  This is one of my favorite ways to dress up a homemade invitation or note.
The first step is buying the envelope liner kit from Paper Source.
   Next choose a paper, and trace the desired envelope size, face down.  (I took these pictures one handed, while performing the demo, so they are not the best.)
 Cut out the liners.
 Slide the liners into your envelope.
 Press down and fold to create a sharp crease.
Apply glue to top portion.
Press firmly, smooth out any bumps.
 Repeat as many times as needed.
And voila!
Now you’re ready to mail.